There aren’t many digital telescopes on the market. We’ve taken a look at some of Unistellar‘s previously, but now Vaonis sent over one of its Stellina telescopes for us to review. This article contains my first impressions after using the telescope for two nights.
The Stellina telescope entered the market in 2018 and was a hit with consumers. There were very few telescopes in existence that operated the way Stellina does and were as easy to use. Over the years, Stellina has received steady updates and now Vaonis is working on a new telescope: Vespera, which launched on Kickstarter in October 2020. For now, let’s talk about the Stellina experience.
Unboxing and setup
Unboxing the telescope was straightforward. Inside its cardboard box is cutout open-cell foam to protect the delicate optical elements and electronics inside the telescope. The cutout foam perfectly cradles the telescope, which is in its dust sleeve, and the box which contains the Gitzo Systematic Tripod, a 10,000mAh battery pack, a couple of short USB cables, and various allen wrenches. Located in the lid of the box is a small piece of foam that is removable and has an attached envelope. Inside this envelope is a card that directs the user to the Vaonis support page for help with the first-time setup.
While setting up the telescope for the first time I discovered the Stellinapp app had been depreciated. Vaonis now has an app called Singularity that is capable of controlling Stellina and the company’s upcoming telescope Vespera. I feel like it’s important to note this because the setup video on the Vaonis website still references Stellinapp.
At this point, I was fully set up and ready for the night. The included battery pack was fully discharged, but I had another 10,000mAh battery pack that was charged. The following night was run off the included battery pack.
First Light
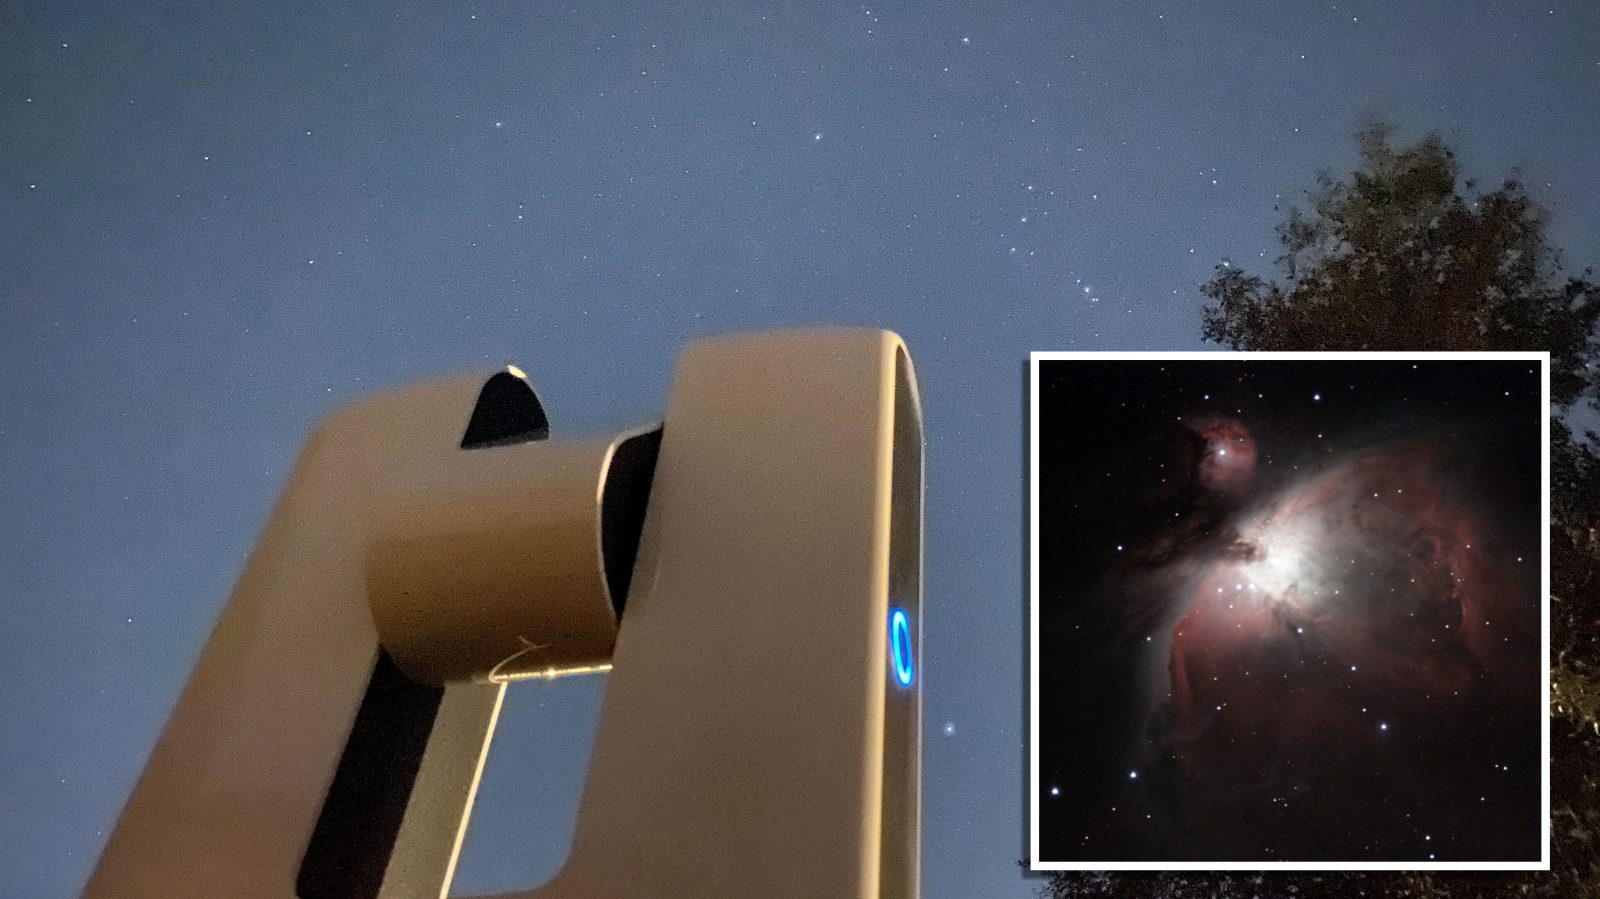
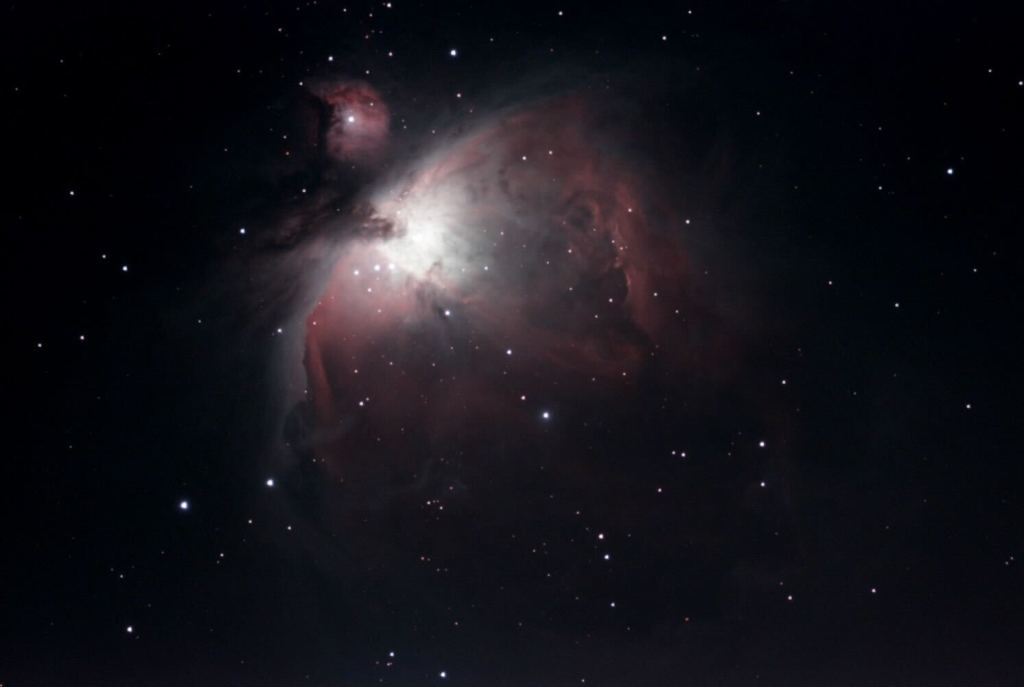
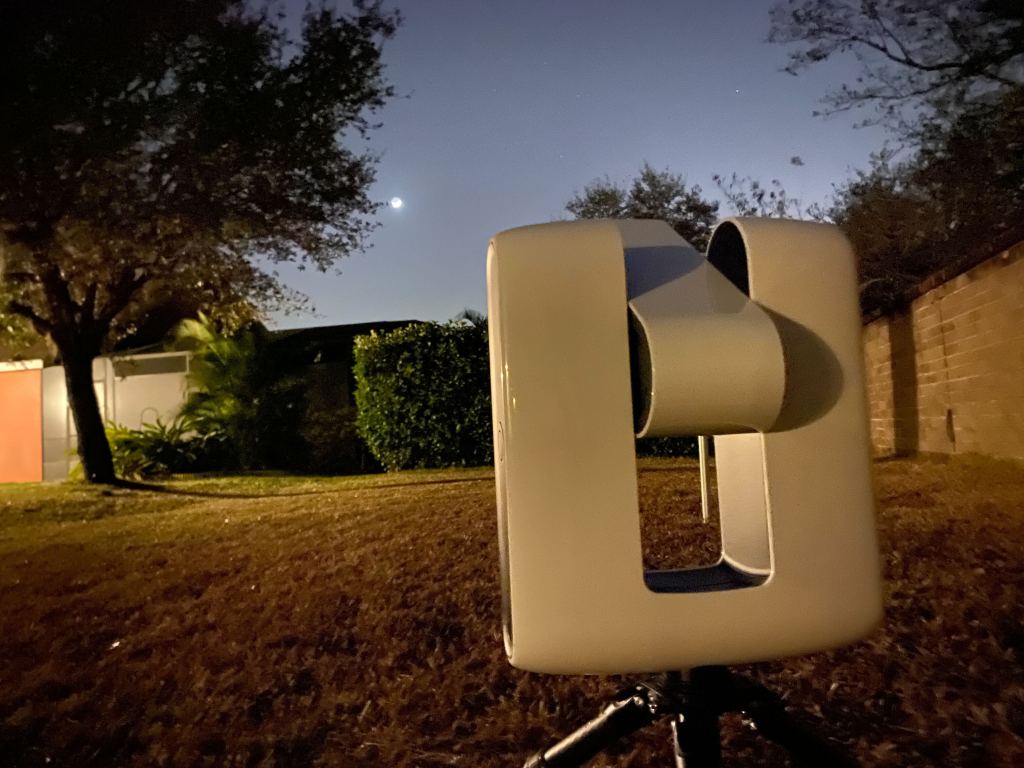
After nightfall, I took Stellina to my backyard. It was around 51 degrees Fahrenheit with humidity around 98%. The skies were clear and I began the initialization process. After a couple of minutes, Stellina was ready to take pictures. I occasionally partake in Astrophotography and wanted to have the first picture be something I have photographed myself previously. The target I chose was the Orion Nebula (M42).
To say I was impressed would be an understatement. I was amazed at the quality and colors Stellina was able to capture and process. And knowing that I could even get the raw image files to process myself just added to the excitement.
Every object you can photograph with Stellina has a recommended exposure time. This will allow the telescope to gather enough data to pull out details that would otherwise be faint. The Orion Nebula was the only target that I committed to getting the full time on during those first few nights. Afterward, I was excited to get an idea of how other targets would look for future nights, and expect more images with the full recommended time during my full review.
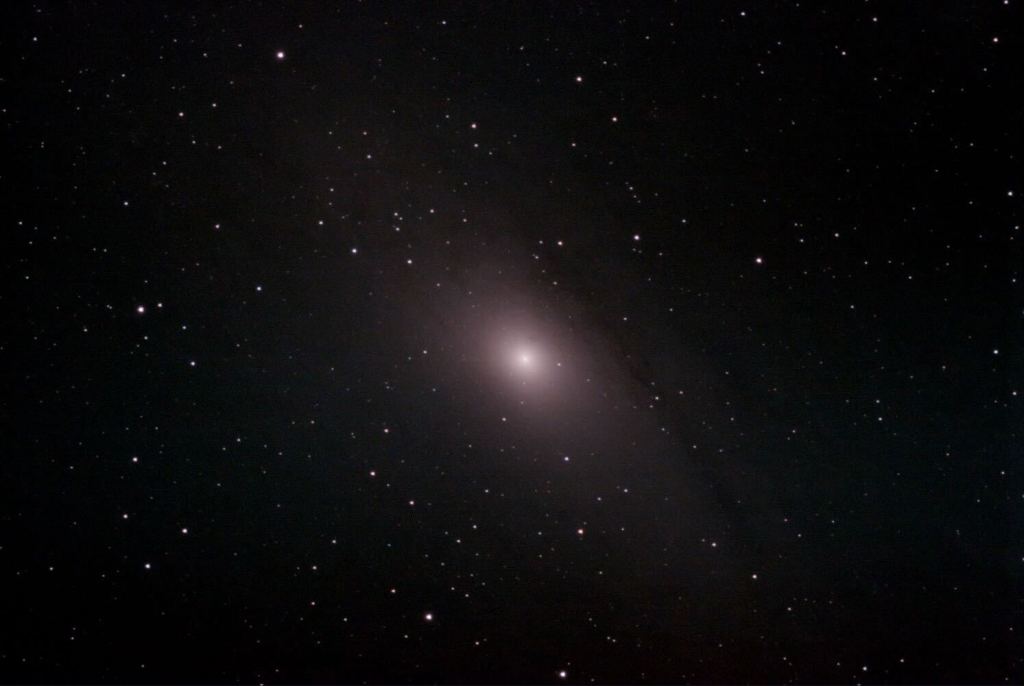
I followed the Orion Nebula with the Andromeda Galaxy. This is a target that has been a personal pain to photograph with my equipment. Even though I didn’t reach the 30-minute exposure time that is recommended, it captured a great amount of detail.
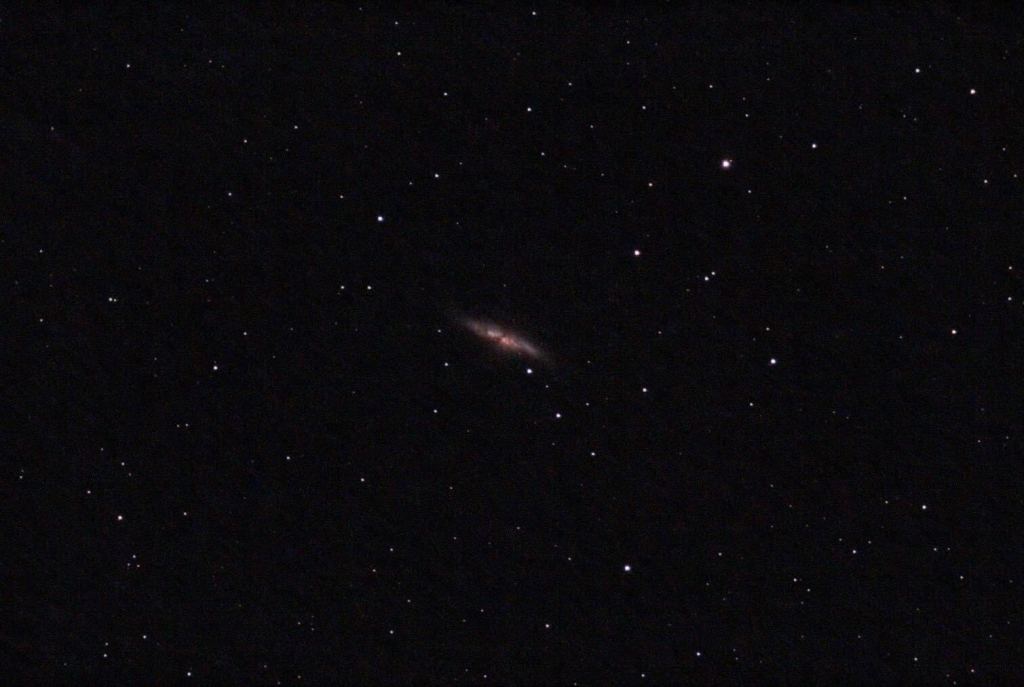
The Cigar Galaxy is a target that I have never photographed myself. Knowing how dim it is coupled with the suburban light pollution around my house, it never came to mind. However, the light pollution filter that is integrated into the telescope helps. Again, I didn’t reach the recommended exposure time. This was where I called it a night.
The following night
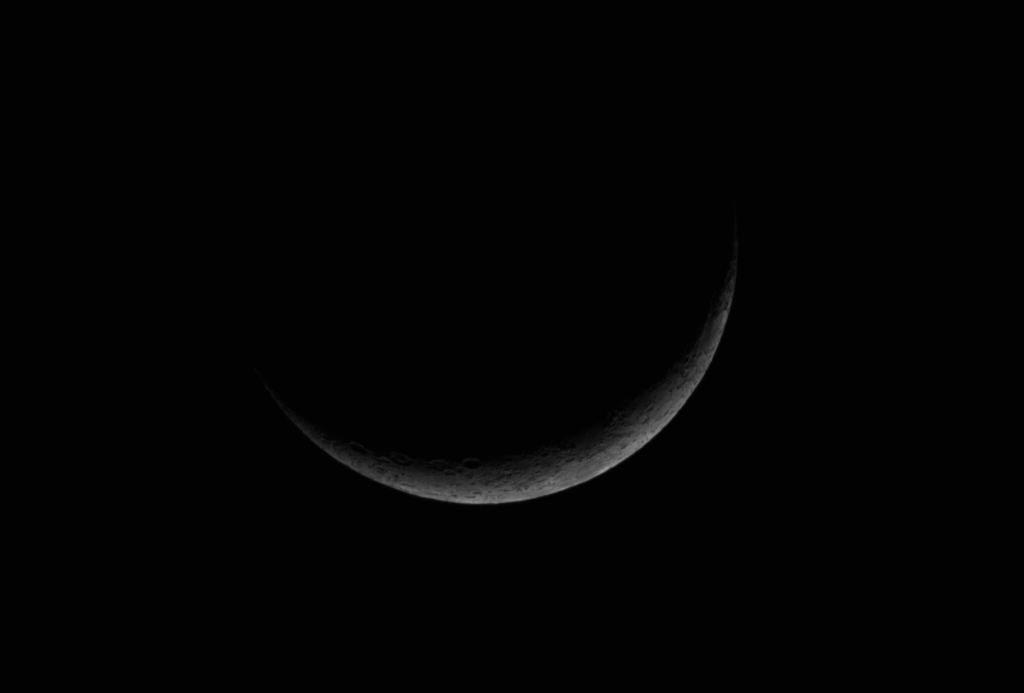
The following night I took Stellina for another spin. This time the Moon was high enough that I could capture an image. I was shocked when the picture appeared on my phone. I don’t know what I was expecting but the picture it got exceeded any expectations.
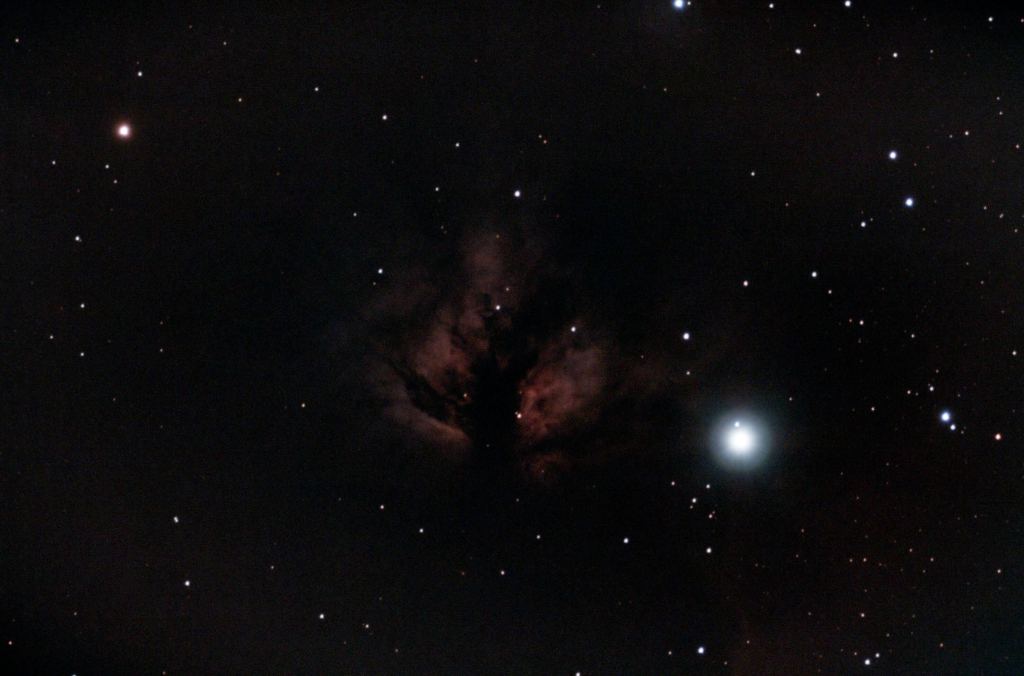
This night I planned on committing to the recommended exposure times for targets. The first object I chose was the Flame Nebula, located in the Orion constellation. I’ve captured this nebula before and knew it would be a challenge from my backyard. Overall the nebula is darker than I expected it would be but there is still great detail.
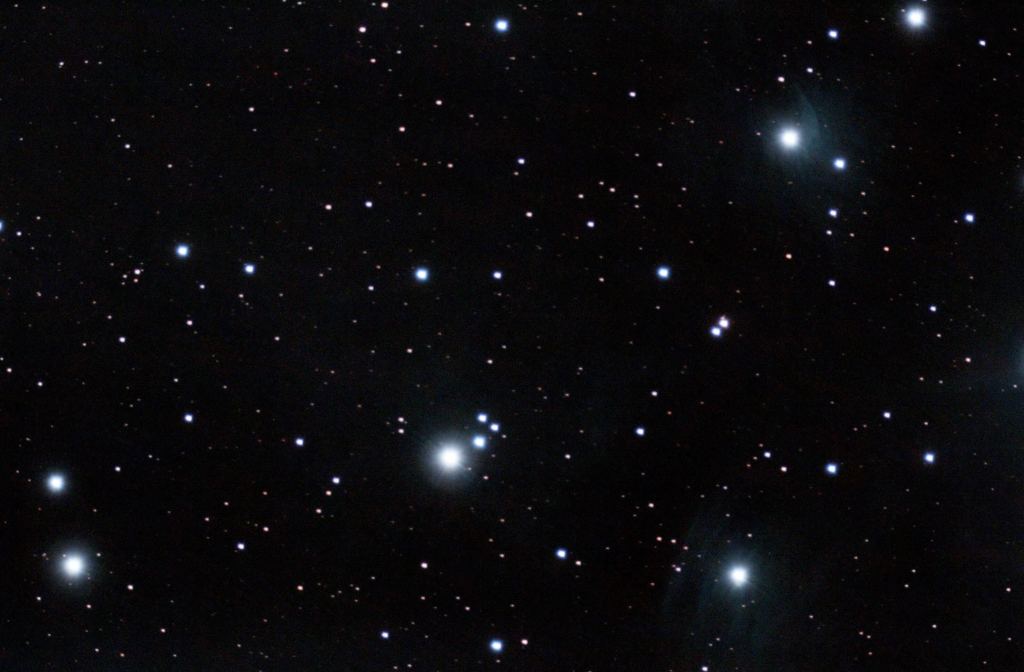
Next was the Pleiades star cluster. I knew this target would be an interesting test because the Pleiades is different than most star clusters; it has nebulosity. However, this nebulosity is hard to capture and can be a real tell between those just beginning in astrophotography and those who are experienced. After waiting for the recommended time I was sort of let down, but it was not the telescope’s fault. I didn’t anticipate the view of the star cluster to be so tight and excluding some of the stars. However, you can see some of the nebulosity that exists in the constellation in the areas around the brightest stars.
Overall, I am very excited to continue using Stellina. While every observation made so far has been from my backyard, I plan on taking it out to an area with darker skies. Also, look forward to a direct comparison piece between Stellina and the Unistellar eVscope 2. Once I can get more time under clear, night skies, I will publish my overall review of the Stellina telescope.
Want to help support Space Explored?
Directly support Jared by joining his Patreon (recurring support), or donate through Ko-Fi (one-off support)
Shop on Amazon to support Space Explored Writers.
Enjoy reading Space Explored?
Help others find us by following on Apple News and Google News. Be sure to check us out on YouTube, Twitter, Facebook, and Instagram, join our Discord!
FTC: We use income earning auto affiliate links. More.

Comments