
Unistellar announced its eVscope 2 back in September. The electronic telescope just needs to be connected to your phone, and then you can start admiring deep-sky objects invisible to the naked eye. It is an intriguing piece of tech, that’s for sure, but does it live up to its eye-watering $4,199 price tag (plus $59 shipping)?
This year has been a big year for Unistellar. The company has been around since its first Kickstarter back in 2017 for the original eVscope. But this year, Unistellar released its second product, the eVscope eQuinox, which I had the opportunity to try out and review this summer.
Overall, I enjoyed using the eQuinox, but there were some software changes that I really wanted to see, the most major change being in reliability. As I said in my review of the eQuinox:
A night of looking at deep sky objects should not be interrupted by the app itself crashing, or the phone and telescope disconnecting.
So when Unistellar announced the eVscope 2 in September, I was eager to get my hands on a unit. I wanted to see whether the team at Unistellar had addressed the reliability issues I encountered (Spoiler alert, they have).
There are few telescopes like the eVscope. Unistellar truly forged the pathway for a high-end, smart, all-in-one telescope. If you are looking for a smart-telescope, your options right now are basically the eVscope 2 ($4,199), the eVscope eQuinox ($2,999), or Stellina ($3,999).

Using the eVscope 2
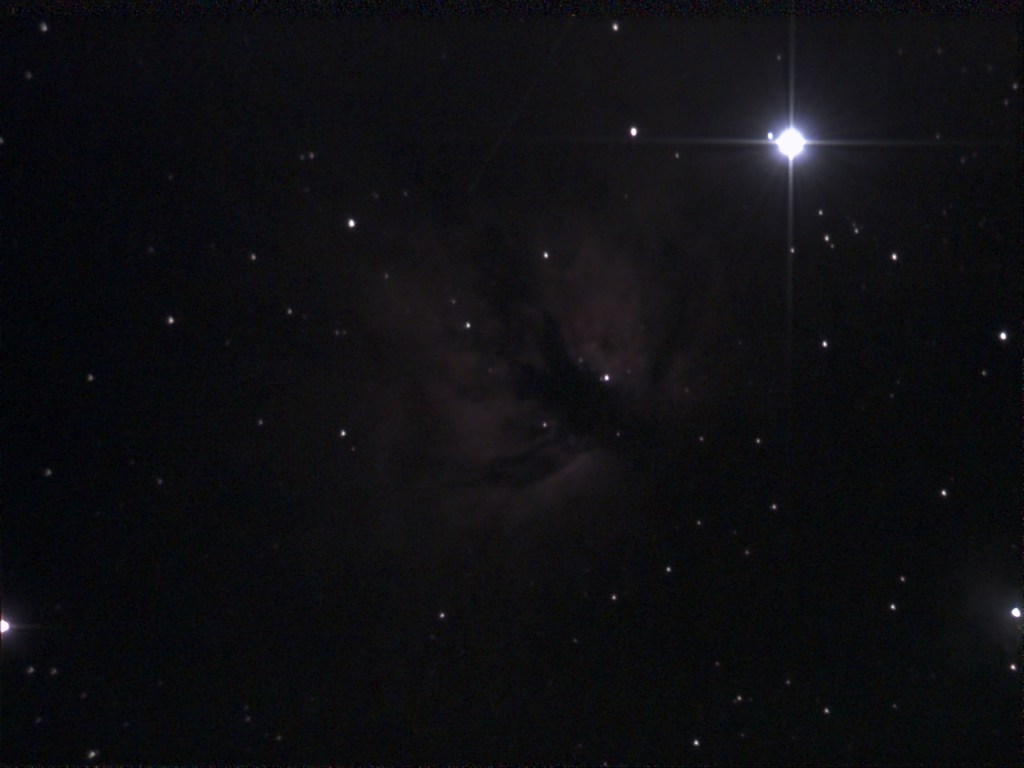
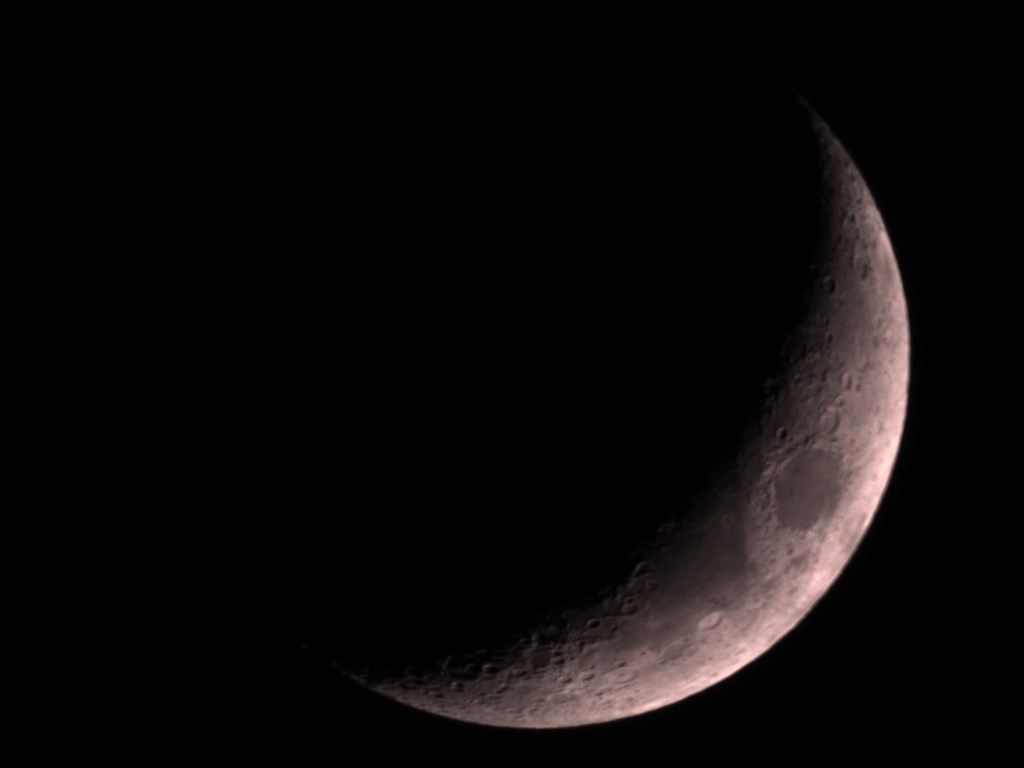
For the first night with the eVscope 2 I made the same settings changes that I did with the eQuinox, enabling “auto save image when exiting Enhanced Vision” and disabling “Add an Overlay when saving an image,” then I started taking photos. Embarrassingly, I forgot to take a dark frame before my taking my first “Enhanced Vision” image, so this was my first image from the eVscope 2:
It could have been a pretty good image, but those red and blue hot pixels don’t look great. That should serve as a reminder, always take a dark frame! It is really simple with the eVscope. Just place the cap on the telescope and head over to the “User” page of the app. Select “Take Dark Frame” and let the telescope take shots with the cap on.
With those dark frames, it adjusts and automatically fixes the hot pixels.
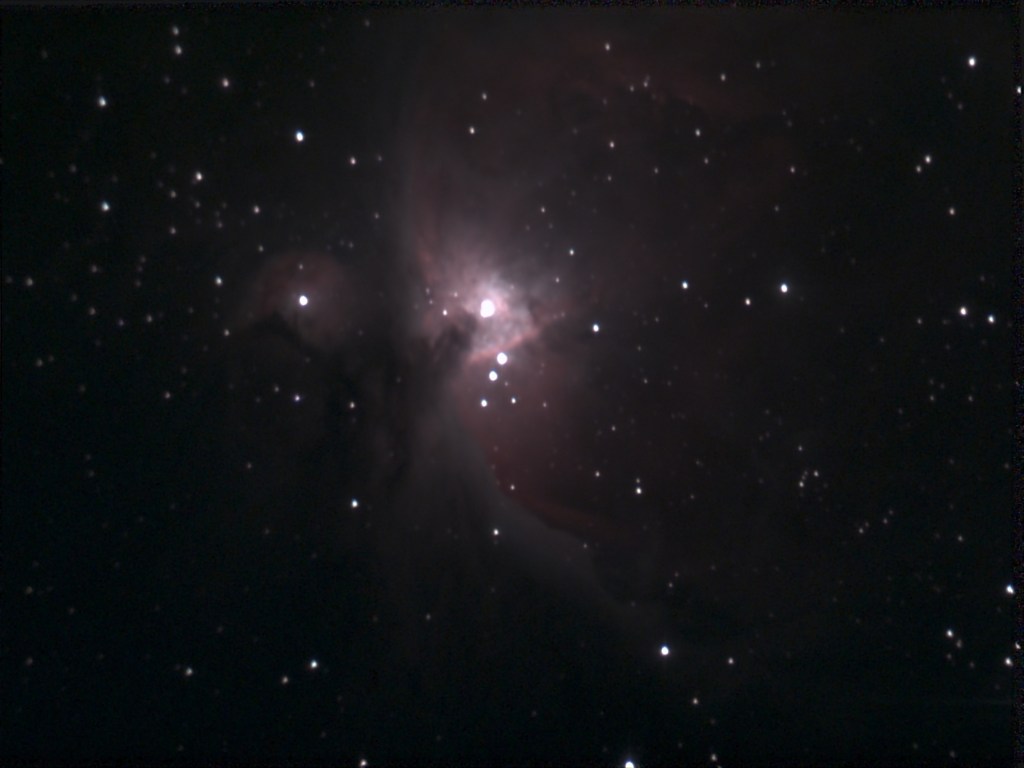
I mentioned Enhanced Vision earlier, and that is truly what makes this scope special (and where the eVscope gets its name). Enhanced Vision is Unistellar’s name for the automatic stacking of images. This stacking allows otherwise invisible deep sky objects to become visible. As I wrote in my review of the eVscope eQuinox:
It continually takes photos of the object, layering the best ones together and ignoring the bad ones. This is also where the dark frames, taken earlier, do the most work. Photo stacking is nothing new, it is how all astrophotographers are able to create clean images of such dark deep sky objects. Even Live stacking, where you watch as the image slowly improves with each photo taken, has existed for many years. None of these compare to the ease of use of Unistellar’s eVscope… other live stacking techniques require a computer connected with a tracking telescope, while also connected to a camera on the telescope. In a setup with a standard telescope, there are all sorts of settings to adjust, from the camera settings to image rejection and alignment settings in the software. The [eVscope] does all that automatically.
Using the eVscope 2 has been a breeze. It was extraordinarily easy to capture images of deep-sky objects.
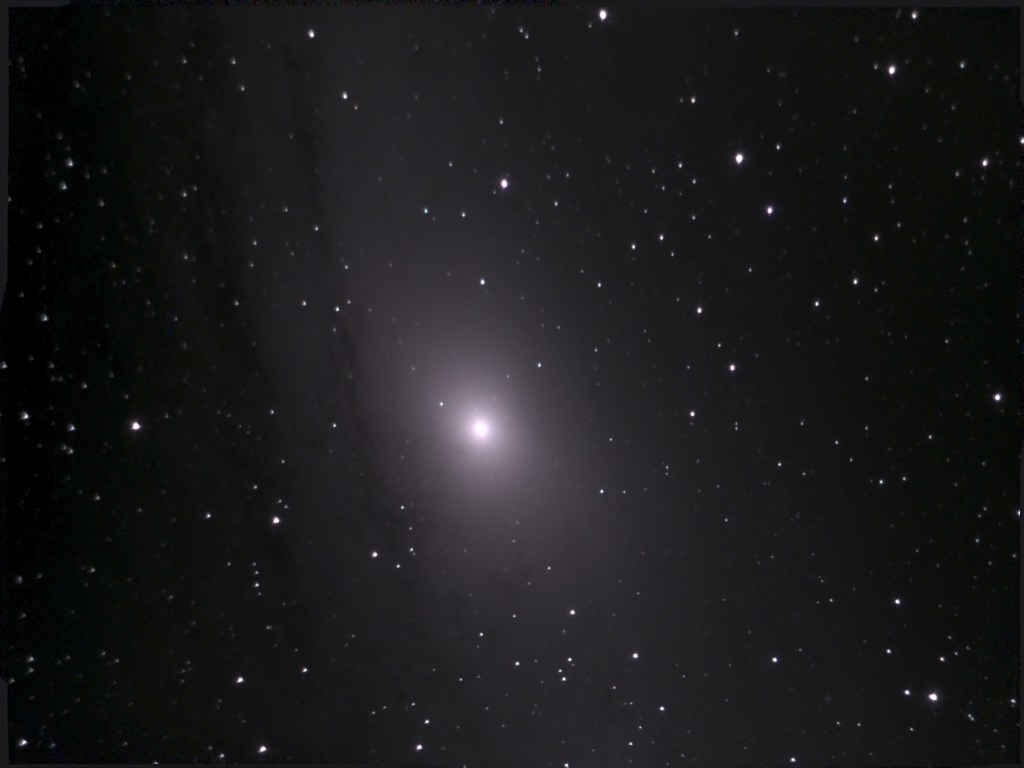
Using the telescope was such a breeze that we decided to do our first Space Explored astronomy night. Live-streaming a view of the scope and a capture of the phone screen, we had a casual evening looking at objects around the night sky for a few hours.
eVscope 2 vs eVscope eQuinox
Using the eVscope has certainly been a good experience, but how does it actually differ from the $1,199 cheaper eVscope eQuinox? The first, and the most noticeable way that it differs from the eQuinox, is its inclusion of an eyepiece. Unistellar partnered with Nikon to create the electronic eyepiece on the eVscope 2.
I definitely think having an eyepiece is much better than not having one, but I really wish the view had been rectangular, to match the shape of the sensor. As is, you have a round crop of the image visible through the eyepiece. I didn’t find it to be too spectacular, and you need to be careful when using it not to bump the eVscope or you could mess up the sky tracking, but I definitely think the scope is better for having an eyepiece. I noted in my review of the eQuinox:
Looking at these objects through a phone screen creates a certain disconnect. That mental disconnect as a result of the digital screen is prevalent enough that in the Kickstarter FAQ for the original eVscope the Unistellar team said, “Yes it is real, we do NOT make any overlay of any preexisting images. The image is formed from photons being collected at the time you are observing. You are doing astronomy, not watching a movie.”
I think that disconnect is mostly alleviated by having an eyepiece, even a digital one. Out of curiosity, I asked my Twitter followers whether the electronic eyepiece on mirrorless cameras made the experience of taking photos feel less authentic. 60% said no, it did not, while 40% found electronic eyepieces took away from the experience. Take that for what you will.
Another inclusion with the eVscope 2 is the backpack. The backpack holds the telescope inside with storage for any chargers or additional tools. It has a place to put the eyepiece cover as well as the cap and mask. The tripod is attached to the outside of the backpack. Frankly, I think the backpack is a really good addition. Carrying around such an expensive telescope in the box it came in, or without a case, really isn’t ideal. The included backpack is similar in style to hiking backpacks and is a comfortable way to carry around the telescope. With the eQuinox, the backpack is an additional $429 purchase.
The eVscope 2 uses a Sony IMX347 sensor, whereas the eQuinox uses a Sony IMX224 sensor. The eVscope 2 also has a slightly higher resolving power and a slightly wider field of view (34 x 47 arcmin for the eVscope 2, 27 x 37 arcmin for the eVscope eQuinox).
Frankly, from real-world use, I think the only part of these changes you’ll notice will be the wider field of view. The resulting, totally stacked JPEGs aren’t terribly sharp, so I don’t feel like the higher megapixel count did too much.
Specifications
HARDWARE
- Optical Magnification: 50x
- Digital Magnification: up to 400x (150x recommended maximum)
- Max Magnitude: <16 in medium quality night sky in under a minute, up to 17.7 in excellent conditions in a few minutes
- Field of view: 34 arcmin x 47 arcmin
- Resolving power: 1.33 arcsecond
- Mirror Diameter: 4.5in
- Focal: 450mm
- Motorized Alt-Az Mount with extreme tracking accuracy thanks to Automated Celestial Tracking with Feedback
- Weight: 19.8 lbs (9kg) including tripod
ELECTRONICS
- Sensor Model: IMX347
STORAGE
- Storage capacity: 64 GB.
Should you buy the eVscope 2?
As I get to the end of the article, I find myself in a very similar place to where I was with the eVscope eQuinox review… but I think I have a more solid answer to the question I posed. At the end of that review, I said:
Who is the eVscope eQuinox for?
This is the question I keep coming back to. It is hard to recommend the eQuinox to most professional astrophotographers who will prefer to gather raw images with modified DSLR bodies, tracking mounts, and more manual processing. At $2,999, it’s definitely on the expensive side for people only casually interested in astronomy, but if an all-in-one solution is what you’re after, the eQuinox is the way to go.
The eVscope 2 is even more expensive than the eQuinox. It is even harder to recommend to someone only casually interested in astronomy. But my experience with the eVscope 2 (mostly due to software improvements) has just felt far more polished. It has been a wholly enjoyable experience. I didn’t stress about a phone disconnecting, I didn’t stress about losing an image, I could truly just enjoy using the telescope to look at things in the night sky that I had never seen before.
Seeing Jared using his own more astrophotography-focused setup really helped me understand the value of the eVscope. Setup for the eVscope 2 involves setting up a tripod, putting the scope on it, and then controlling it with your phone. That’s it. You don’t have to worry about polar alignment, settings, finding your target, image processing, or anything like that.
I think the eVscope 2 is an even better option for places like Experience Daliona’s Sidewalk Science Center. The viewfinder makes it easy to share with others, without having to explain that your phone is connected and showing a live view from the scope.
Education is one of the places where the scope could be particularly useful – to inspire kids to explore and learn about the stars and how different objects in space are formed. Unistellar recognizes the importance of this education, and during World Space Week partnered with SETI to share the discoveries of space.
Another great way of using the scope is in support of Unistellar’s Citizen Science efforts. I would still like to see better, more automatic integration with the app, but with the eVscope 2, you can join other eVscope owners to help gather information on exoplanets, asteroids, and more. One of these Citizen Science events is coming up this week, as the ESA’s Solar Orbiter makes its final flight by Earth (I know that I’ll be outside looking for it, so long as the clouds cooperate).
Using the eVscope 2 has simply been an enjoyable experience, and it’s hard not to recommend it. Those who want to dive deep into astrophotography will certainly go out and find the mounts, optical tubes, and cameras to meet their specific needs, but the eVscope 2 offers an all-in-solution that doesn’t require the same time and knowledge as other setups.
The resulting photographs won’t be the same quality as dedicated rigs, but you can’t have a complete photograph on your phone within ten minutes of starting to set up your telescope with any of the other options.
In my opinion, the main question if you are in the market for an all-in-one scope, and willing to spend the money, is whether to go with the eVscope 2 or the eQuinox. Either will provide a great experience, so how much do you value the slightly wider field of view and electronic eyepiece of the eVscope 2?
eVscope 2 (backpack included): $4,199 + $59 shipping on Unistellar’s website
eVscope eQuinox (no backpack): $2,999 w/ free shipping on Amazon
eVscope eQuinox (backpack bundle): $3,428 w/ free shipping on Amazon
FTC: We use income earning auto affiliate links. More.


Comments